My interest in rail model kits was purely born from a need for a change from building AFV's. You probably know the feeling, tracks, more tracks, tracks again.
The rail interest also led to an insane need to super detail as much as I could, correct kit errors and without a doubt, has led me on a major learning curve on air pressure brake lines, steam systems and the like.
There is a lot of material out there on the net and some superb reference books which I will mention later when I build up a BR86 Dampflok. There are also a few crazies like myself and Dave out there who detail everything as well and my hat goes off to them for leading the way.
As for me, I put it down to my German DNA for this engineering / detailing madness...so what's your excuse?
Each rail kit I've put together has been an improvement on the one that preceded it. There are errors for sure, usually as result of having to 'guess' what is there as reference material couldn't be found.
My first endeavor was some years ago building a Trumpeter 1/35 scale Schwere Plattformwagen SSyms 80. I was happy with the result but compared to the build of the second Trumpeter kit which was detailed up job, it's chalk and cheese. I will post photos of them side by side later.
To the first kit to be detailed is a CyberHobby Orange Box 9115 1/35 German Railway Flatbed Typ Ommr 2 axle with MG crew. This is a rebox of the Dragon kit 6085.
I chose to build this without the side walls or MG crew and was done in 2017. Plenty of photo references out there.
Additional to the kit was the LZ models resin kit 35310 1/35 German Hildebrand-Knorr Wagon Brake system.


Some scratch building involved to add structural parts to fix the support brackets to main of the wagon frame and to attach to brake shoes.


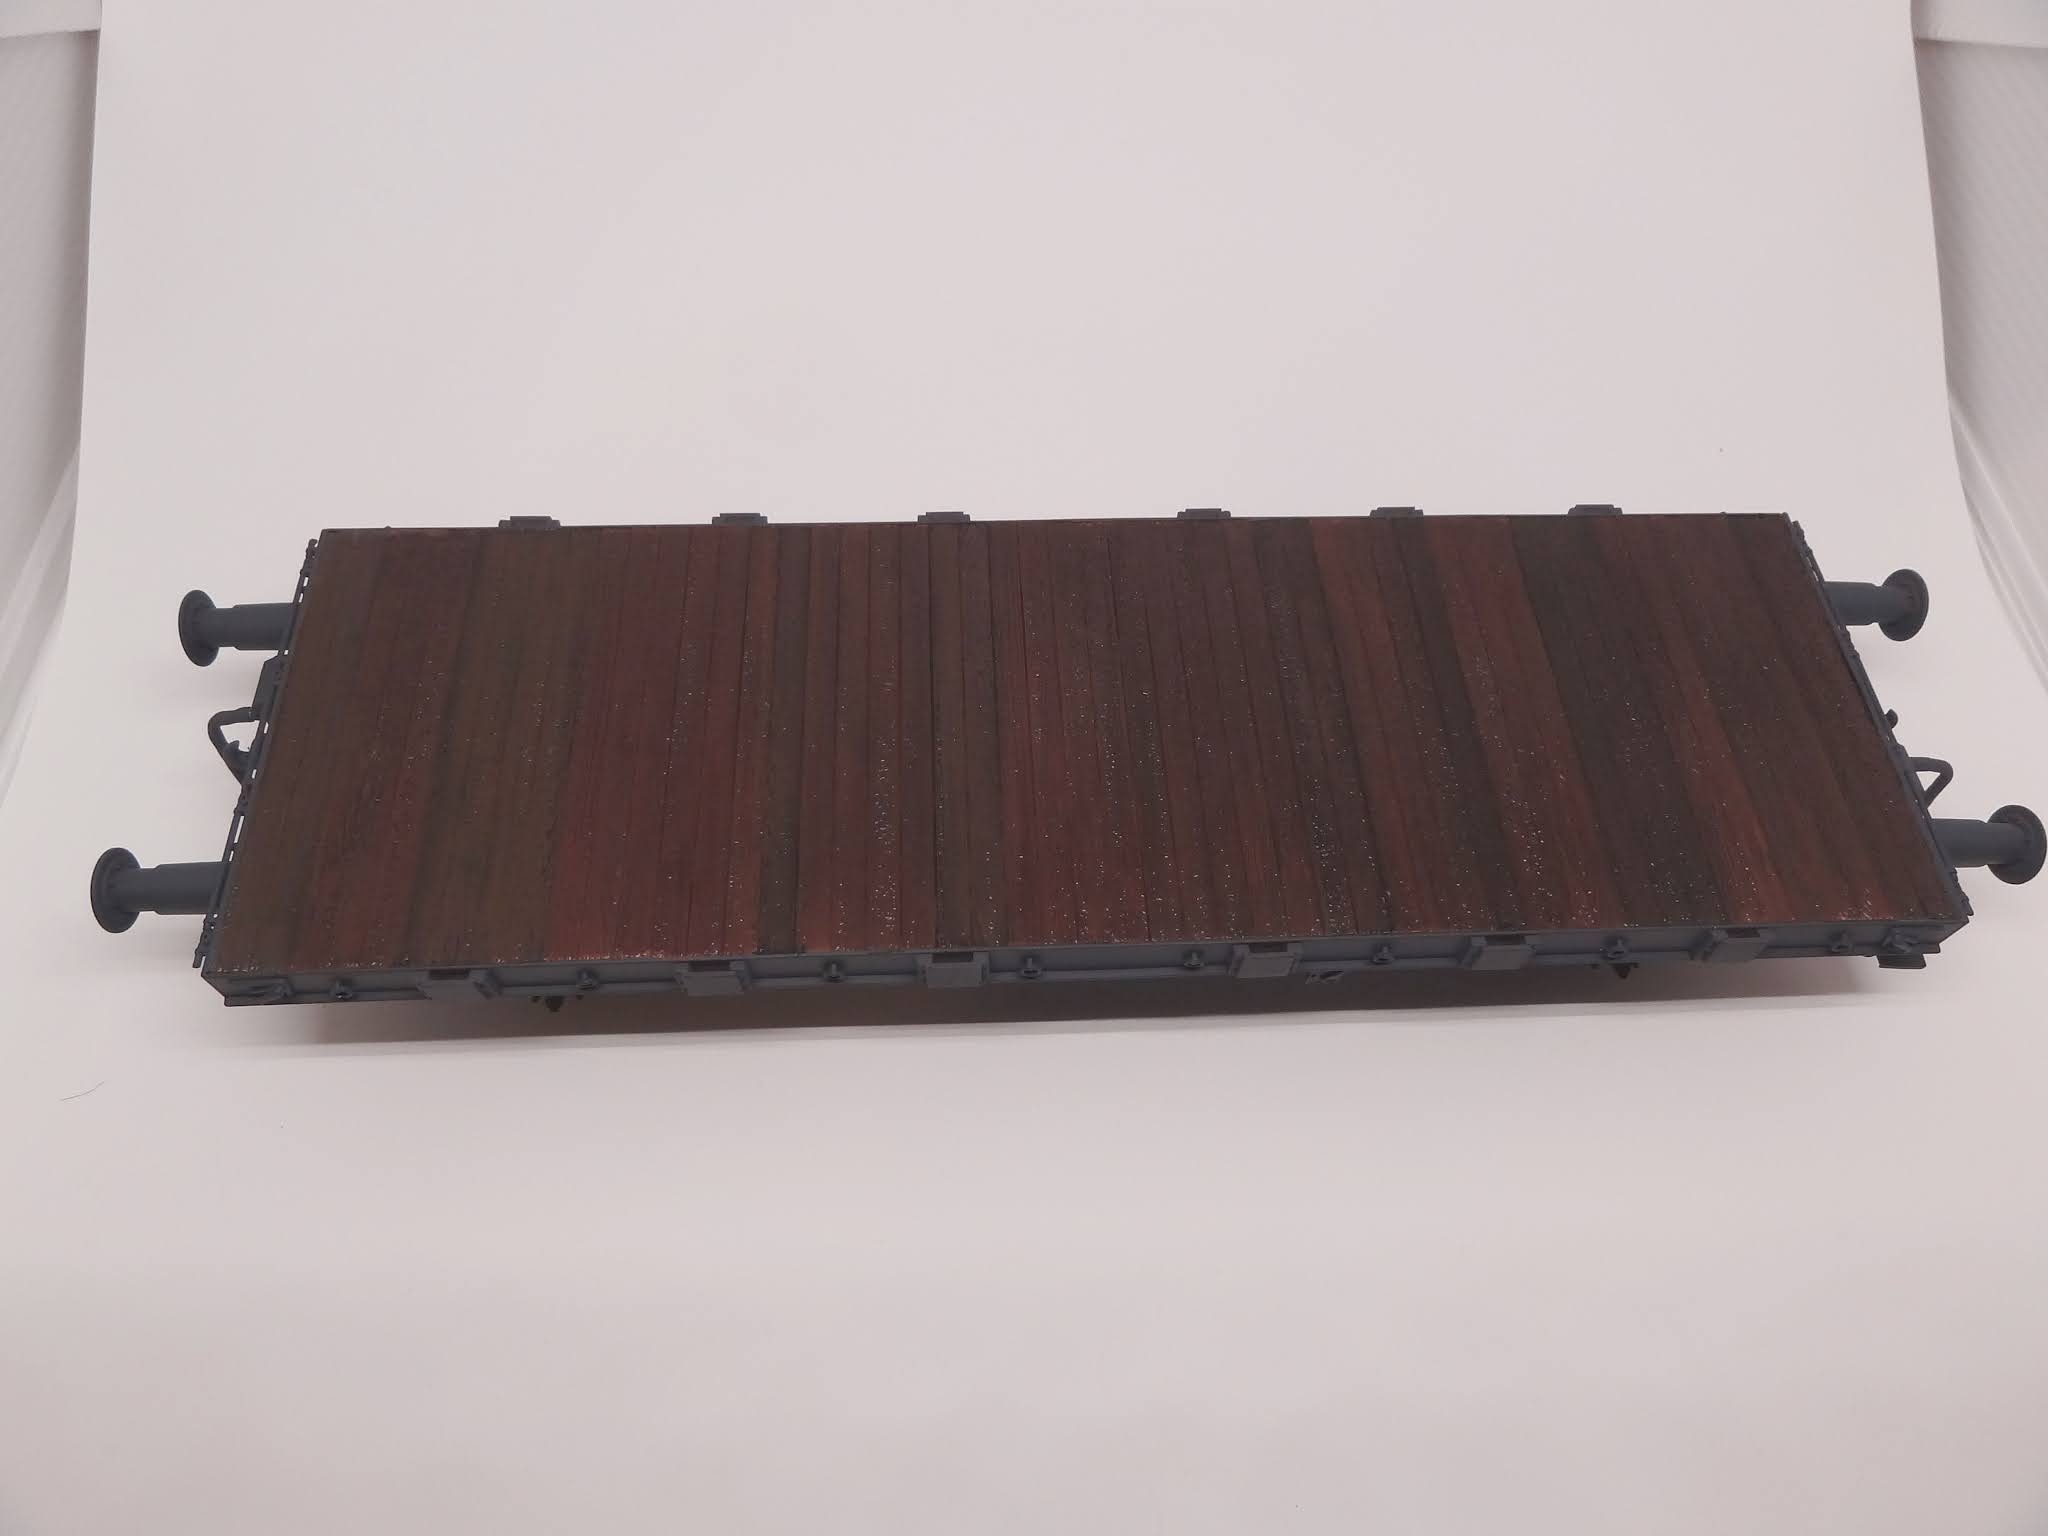
The next stage was to glue the top plastic planking, ends and buffers to the base.
The downside of the timber planking is that there is no timber profile on the underside. This can be resolved by scribing which I chose not to do on this occasion. In a later different kit build I have replaced the plastic timber with real timber planking.


Primed


I used fine black wire from the local Jaycar store to replace the rigid plastic brake hose coupling. My thought there was to keep it flexible in order to join it to another carriage for a possible diorama in the future.

Tamiya XF 63 German Grey

Top masked off ready for painting the timber.

An assortment of different browns mixed with grey black and buffs to replicate timber wear and tear. Then sealed with Testors Glosscote for decals and sealing.

After the application of AK pigments, washes etc, the model was sealed with Testors Dullcote which is my prefer lacquer sealer. I used a standard HB pencil to wear the edges of the rail wheels that are in contact with the rail itself.


No comments:
Post a Comment