Here begins the Trumpeter kit 00221 Schwere Plattformwagen SSyms 80 build.
I have built this kit twice, the first build was straight out of the box some years ago and the second 2 years ago. I only have the finished Photo of the first build which will be posted next to the second build as a comparison.
The second kit was detailed up and corrections made where possible. I used LZ Models Kit 35309 German Kunze-Knorr Wagen brake set. The plastic deck was replaced with timber stirring sticks from the local $2 junk shop. There was some experimentation with weathering these timber sticks but I think I got it right in the end.
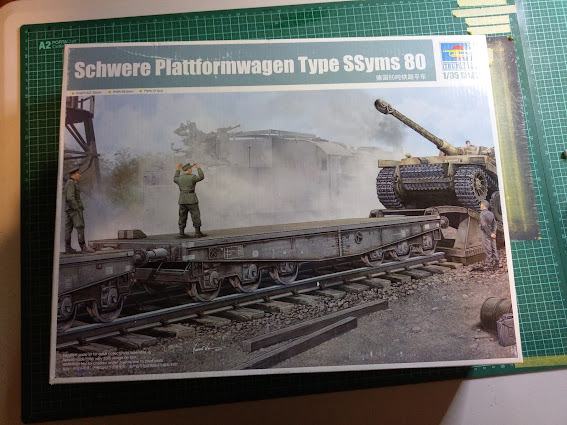
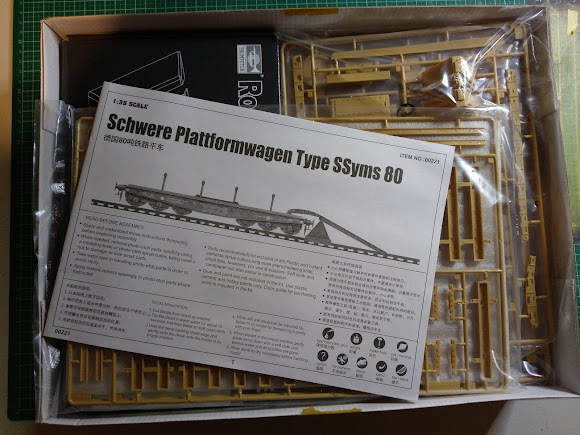
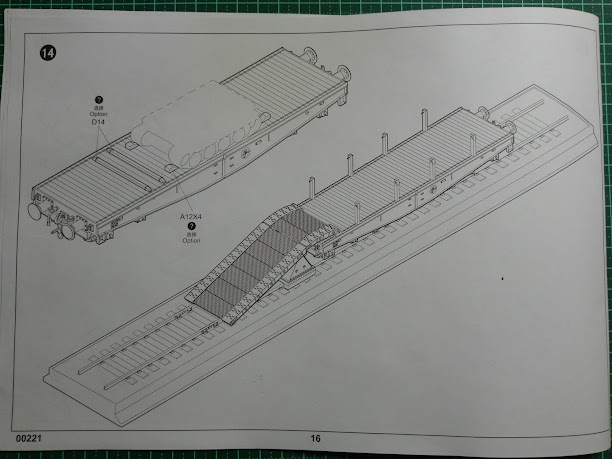
The first series of photos is of the kit box art and instructions. I have not bothered building the loading ramp for the tanks and I will only show the final track bed photo.
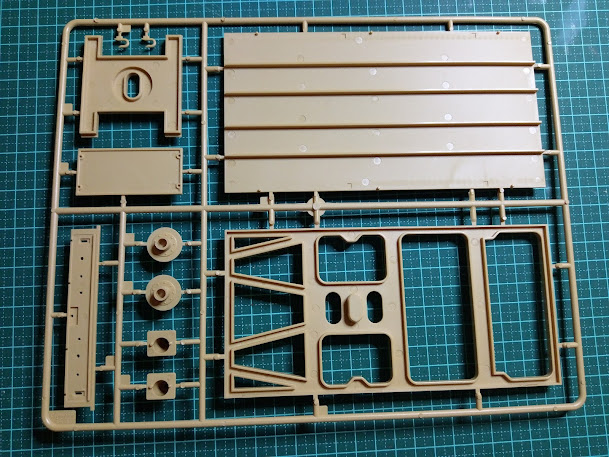
The timber grain is passable and does come up well painted and weathered but real timber is a much better look should you go down this path.
There are prominent sick holes on the flip of each rail which need to be filled. I have found the best option is to fill with super glue, hit it with zip kicker and you can file it down using a fine diamond file straight away.
The same sink hole problem exists for each rail wheel and sadly it's on the rounded visible side. The only solution is to scrape it smooth with a rounded scalpel blade.
I did not take any shots of the early stages of the build, but things did go together smoothly and without issues. First up is the triple wheel bogey assembly. I was able to find technical drawings of single and double axle assemblies but not of triple axle assembly. This is the best I could come up with and can't vouch if this even works. I used the LZ Models aftermarket kit for a single axle system and scratch build parts for the remainder.
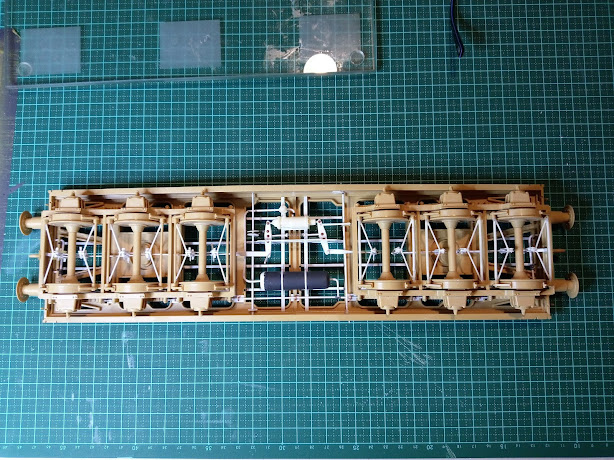
View from underneath.
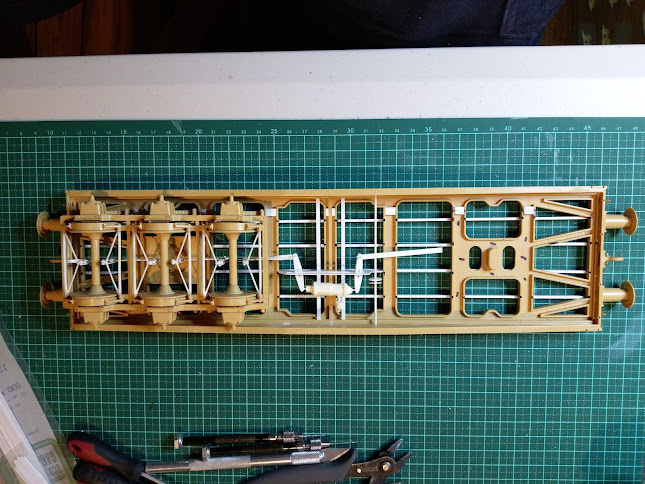
View from above.
Now the frame assembly. Additional length and cross bracing added (missing in simplified kit).
First of the triple axle bogie attached.
Whilst the second bogie is not yet finished, it was placed in position in order to align the additional connection rods and pipework from the brake system and pressure tank.
The sub frame is complete and corrections to the both sides done and springs, levers / handles added and connected through to the other side. The beams also added as these are not included in the kit. Axle guards also added.
Using AK red Brown primer, this was sealed with Testors glosscote and a light hair spray coat added. This followed by a coat of Tamiya German Grey and sealed again Testors Dullcote.
Decals followed. These were of very good quality and were applied using Mr Hobby Decal softener and fixer and then sealed with another spray of Testors Dullcote.
The timber flooring of the kit were replace with crafts sticks from the local junk shop and stained before gluing down.
Weathering using Mig pigments and a very light spray of Tamiya dark brown sealed with Dullcote.











No comments:
Post a Comment